Working with oil pastels
Oil pastels.
Have you worked with them before?
I hadn’t much before I started in 2021.
I’d dug them out of my art supplies as I was keen to work in colour again after working in graphite for a while. I needed some joy of colour in my life! I also usually work in close detail and oil pastels can’t get the precision a pencil or tiny brush can, so you have to work in a looser style, which I thought would be a good challenge for me.
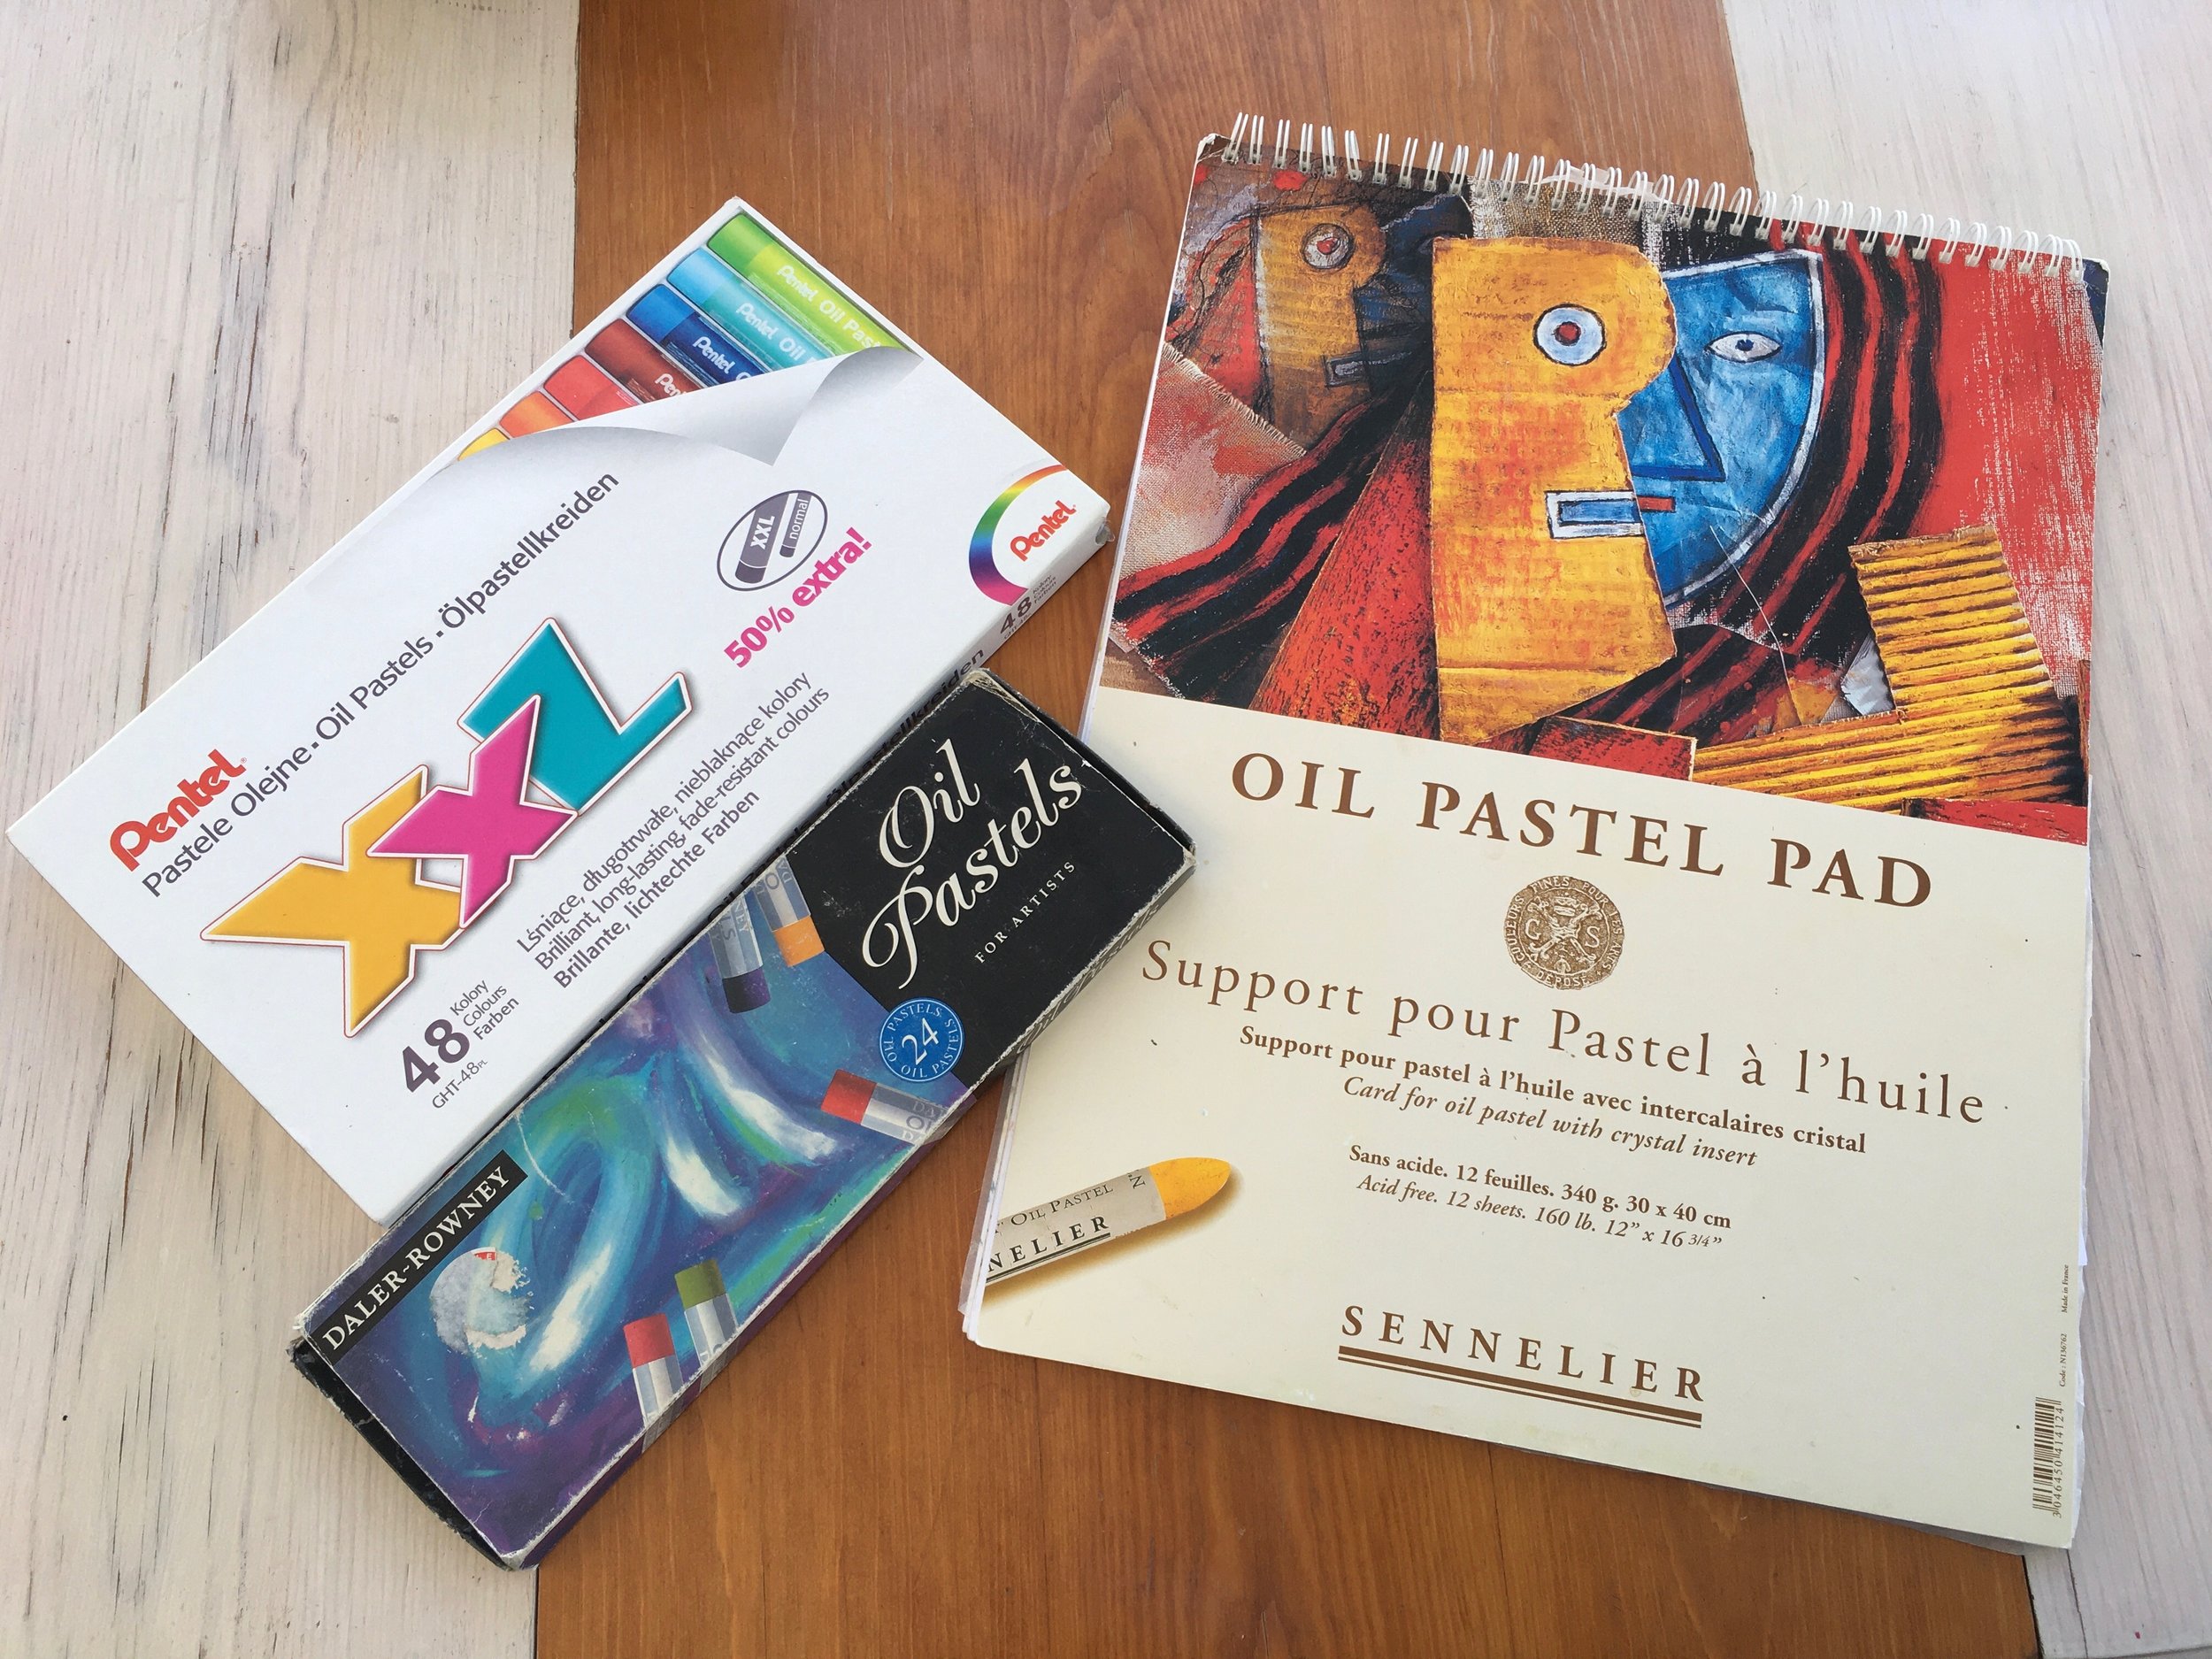
So I gathered my Daler Rowney and Pentel Oil pastels and Sennelier Card and set to work.
The only other things needed for working in oil pastels are some kitchen towel to keep the ends of the pastels clean and the odd toothpick if you use my method!
As a homeschooling mum who’s art studio was the kitchen table it was beneficial to work in a medium that would be easy to pack away, then pick up where I’d left off. Oil pastels aren’t too messy as you’re applying pastels straight to the surface. That being said you can get smudging and blending with your fingers, but only your hands to clean is quite easy clear up after an artwork session! With a limit to my free time it would also be good to work in a medium where I’m not waiting for paint to dry before applying the next layer.
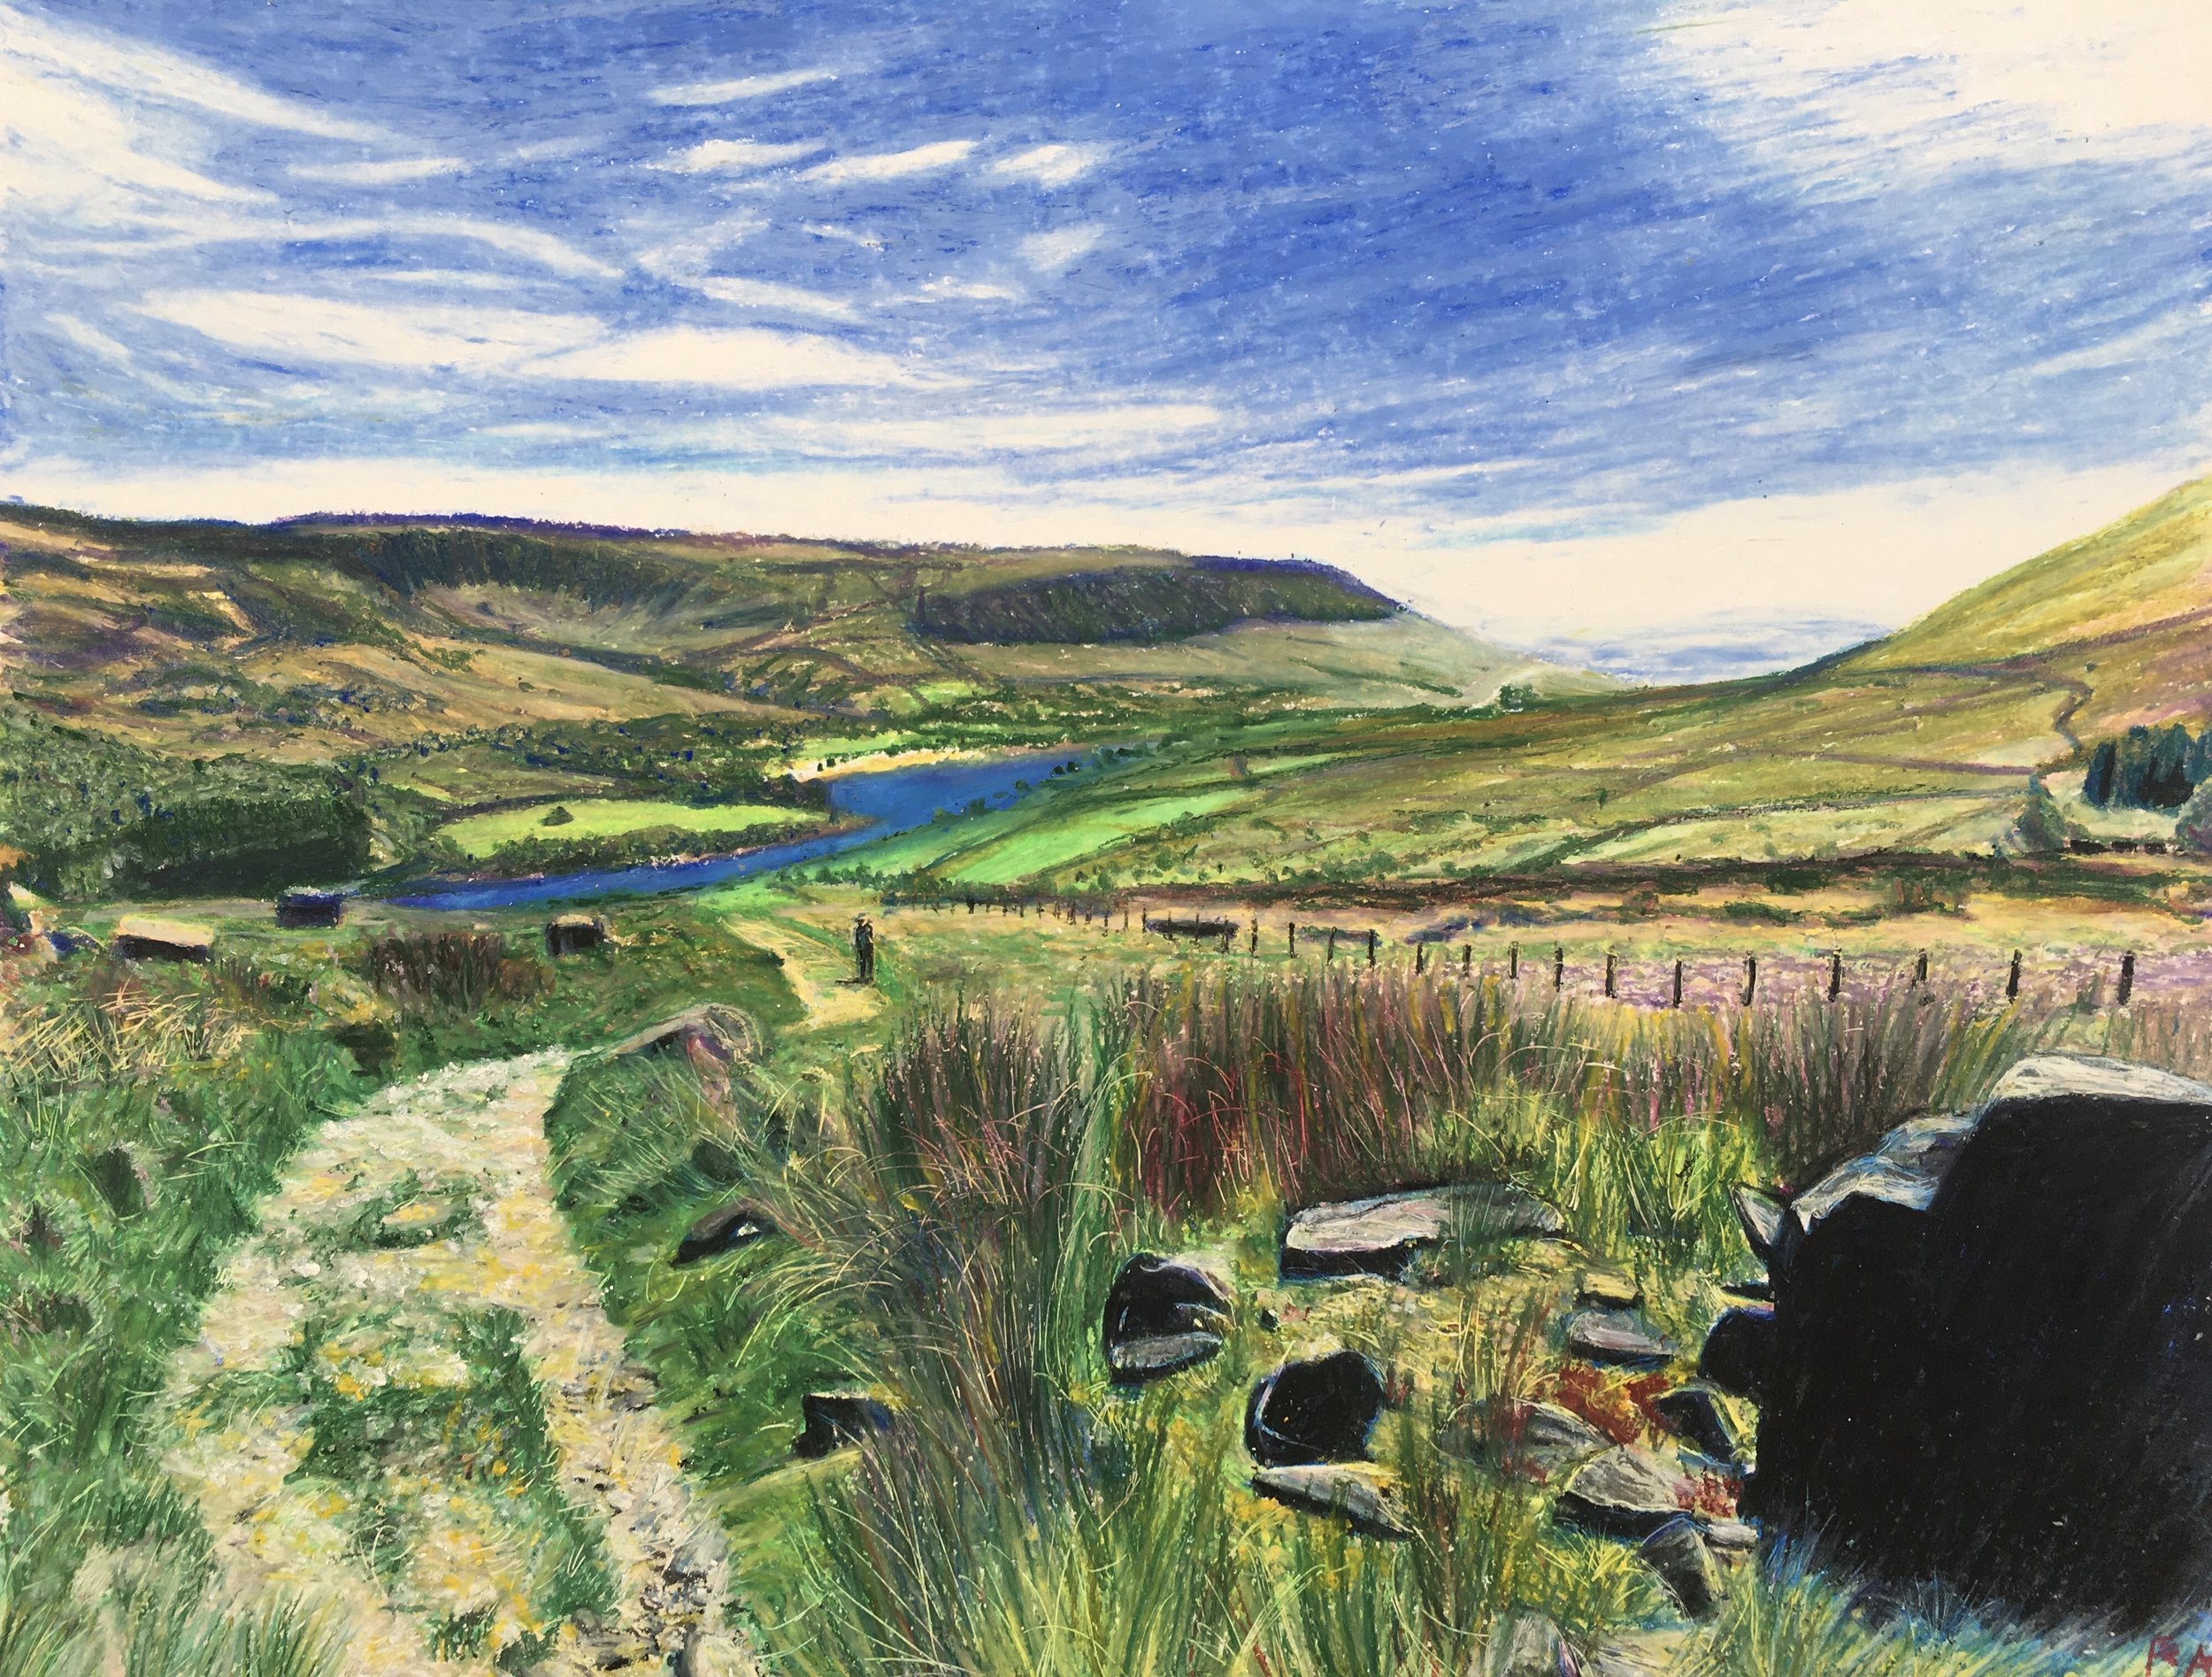
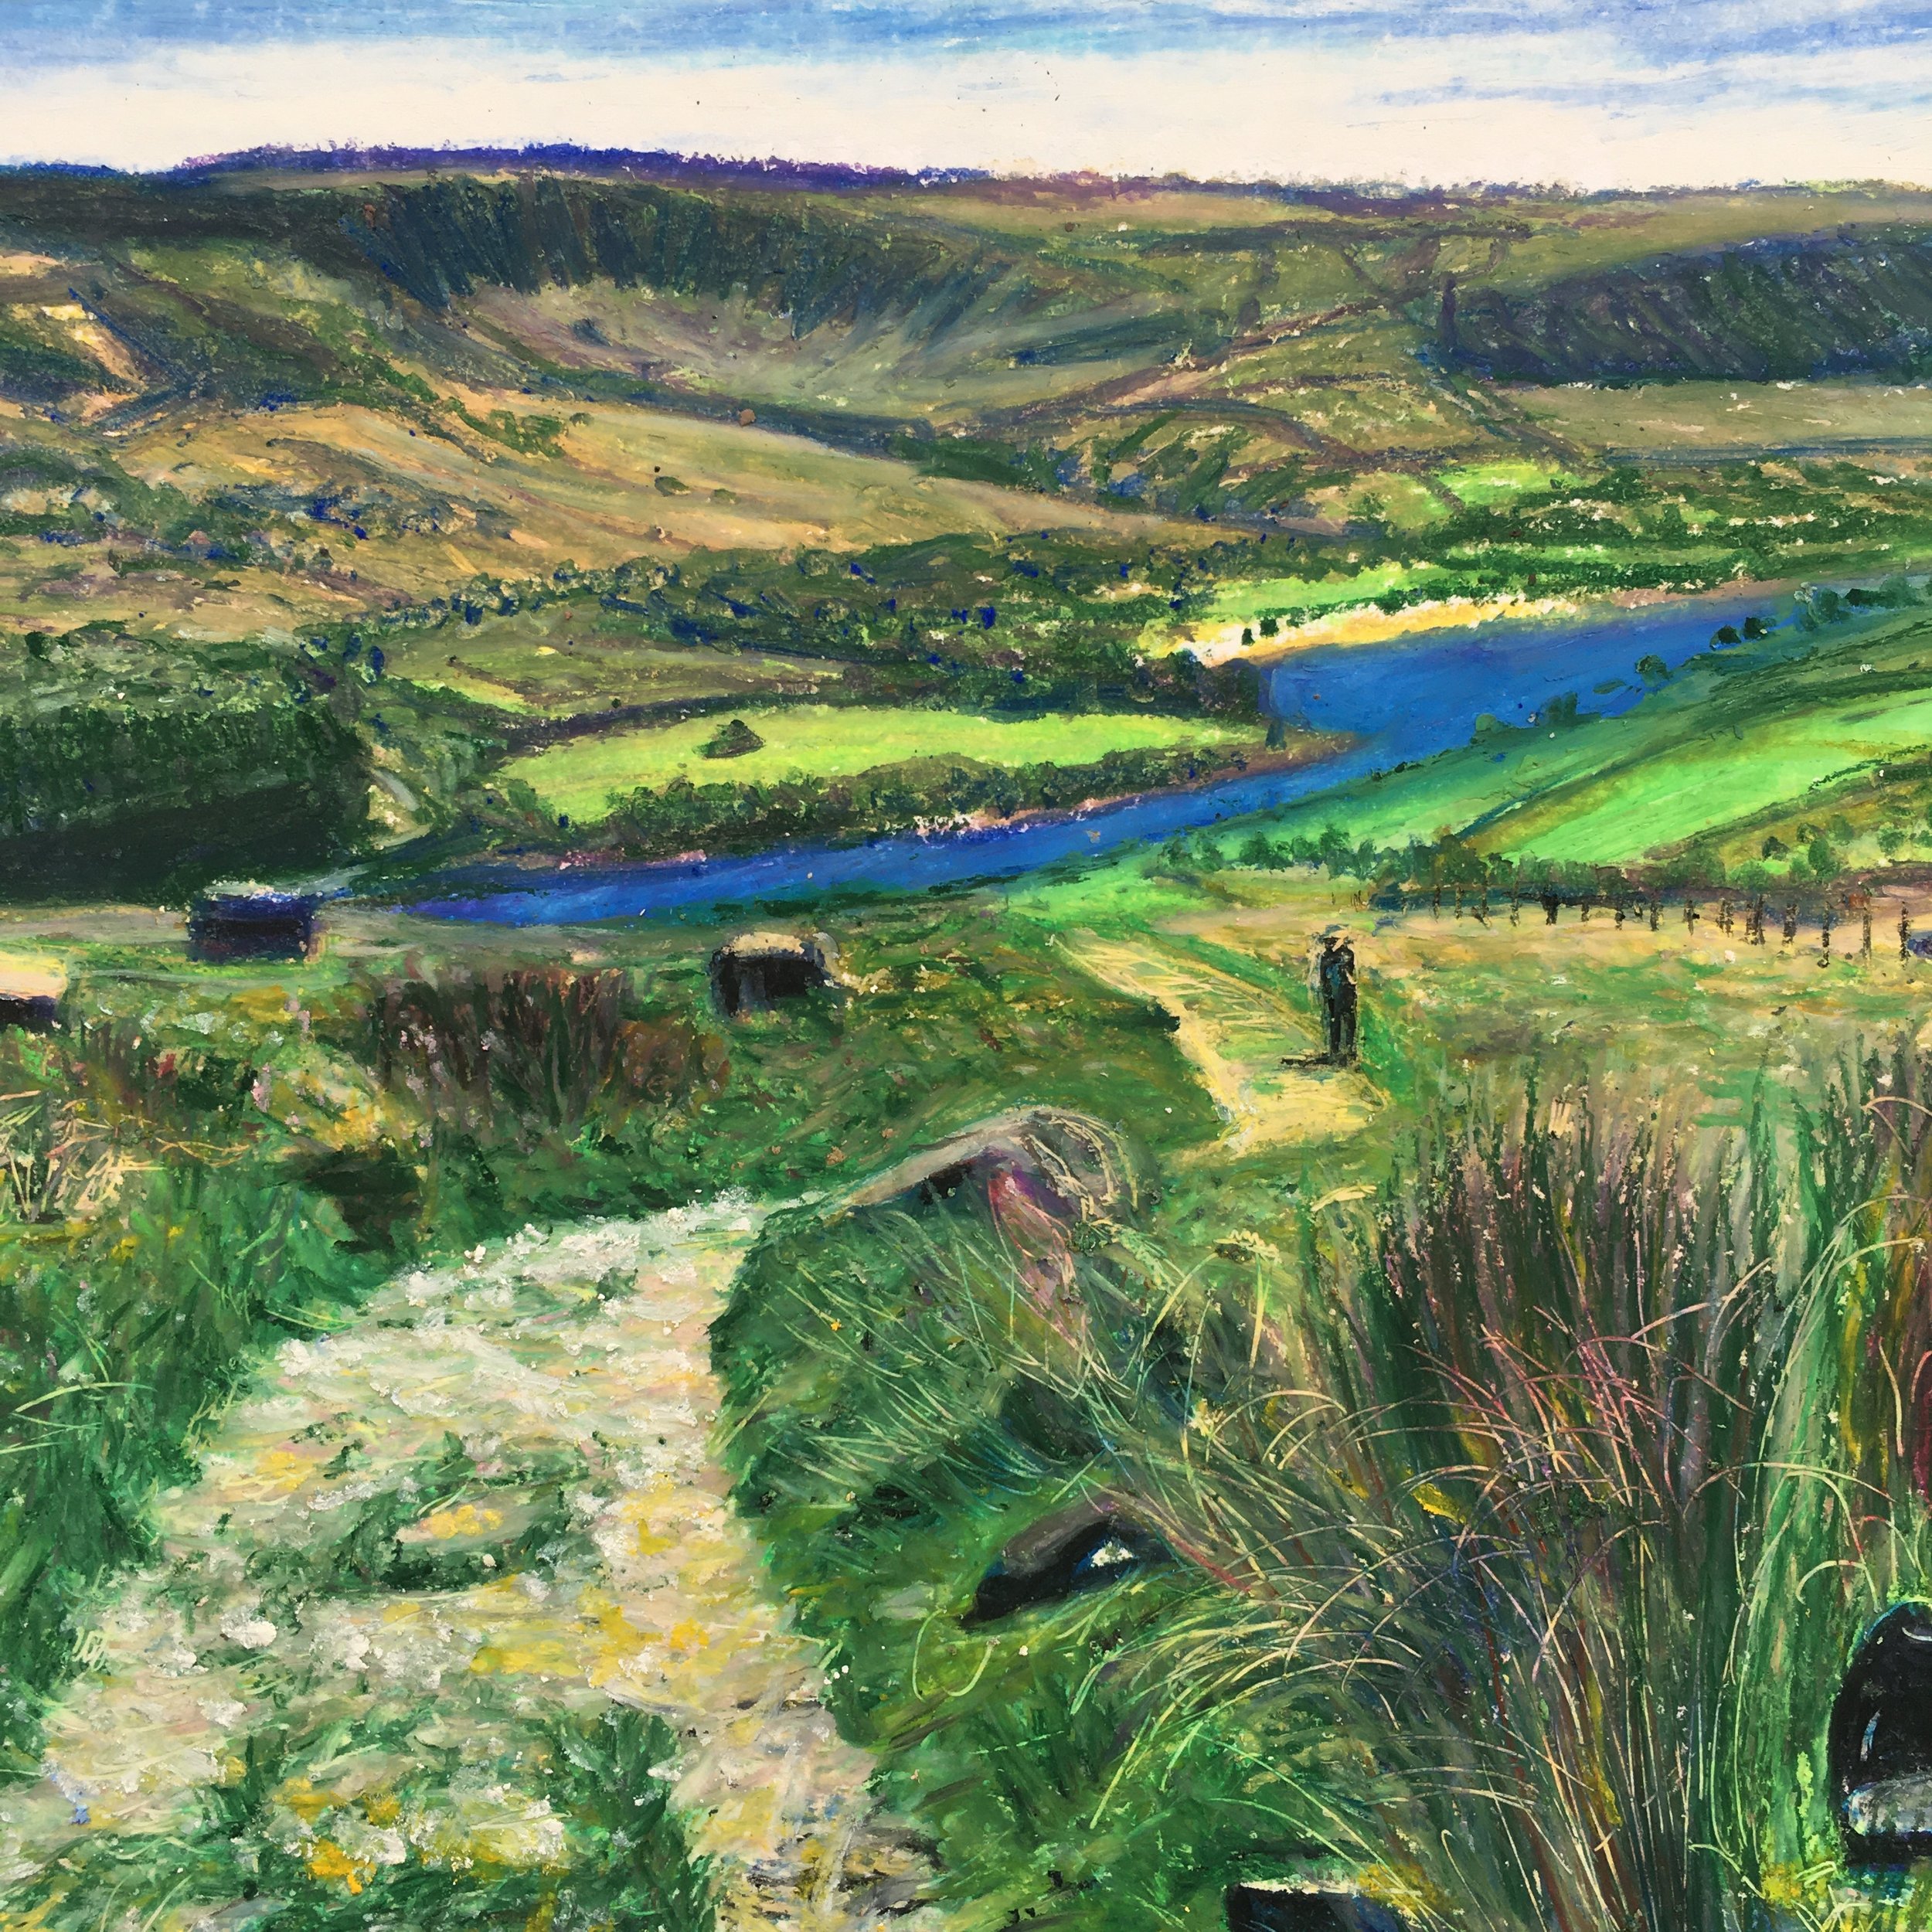
Talking of layers, I learnt through trial and error that this is what working with oil pastels requires. Layers give the work a depth to it. Let me show you an example with this latest oil pastel piece I created of the Peak District:
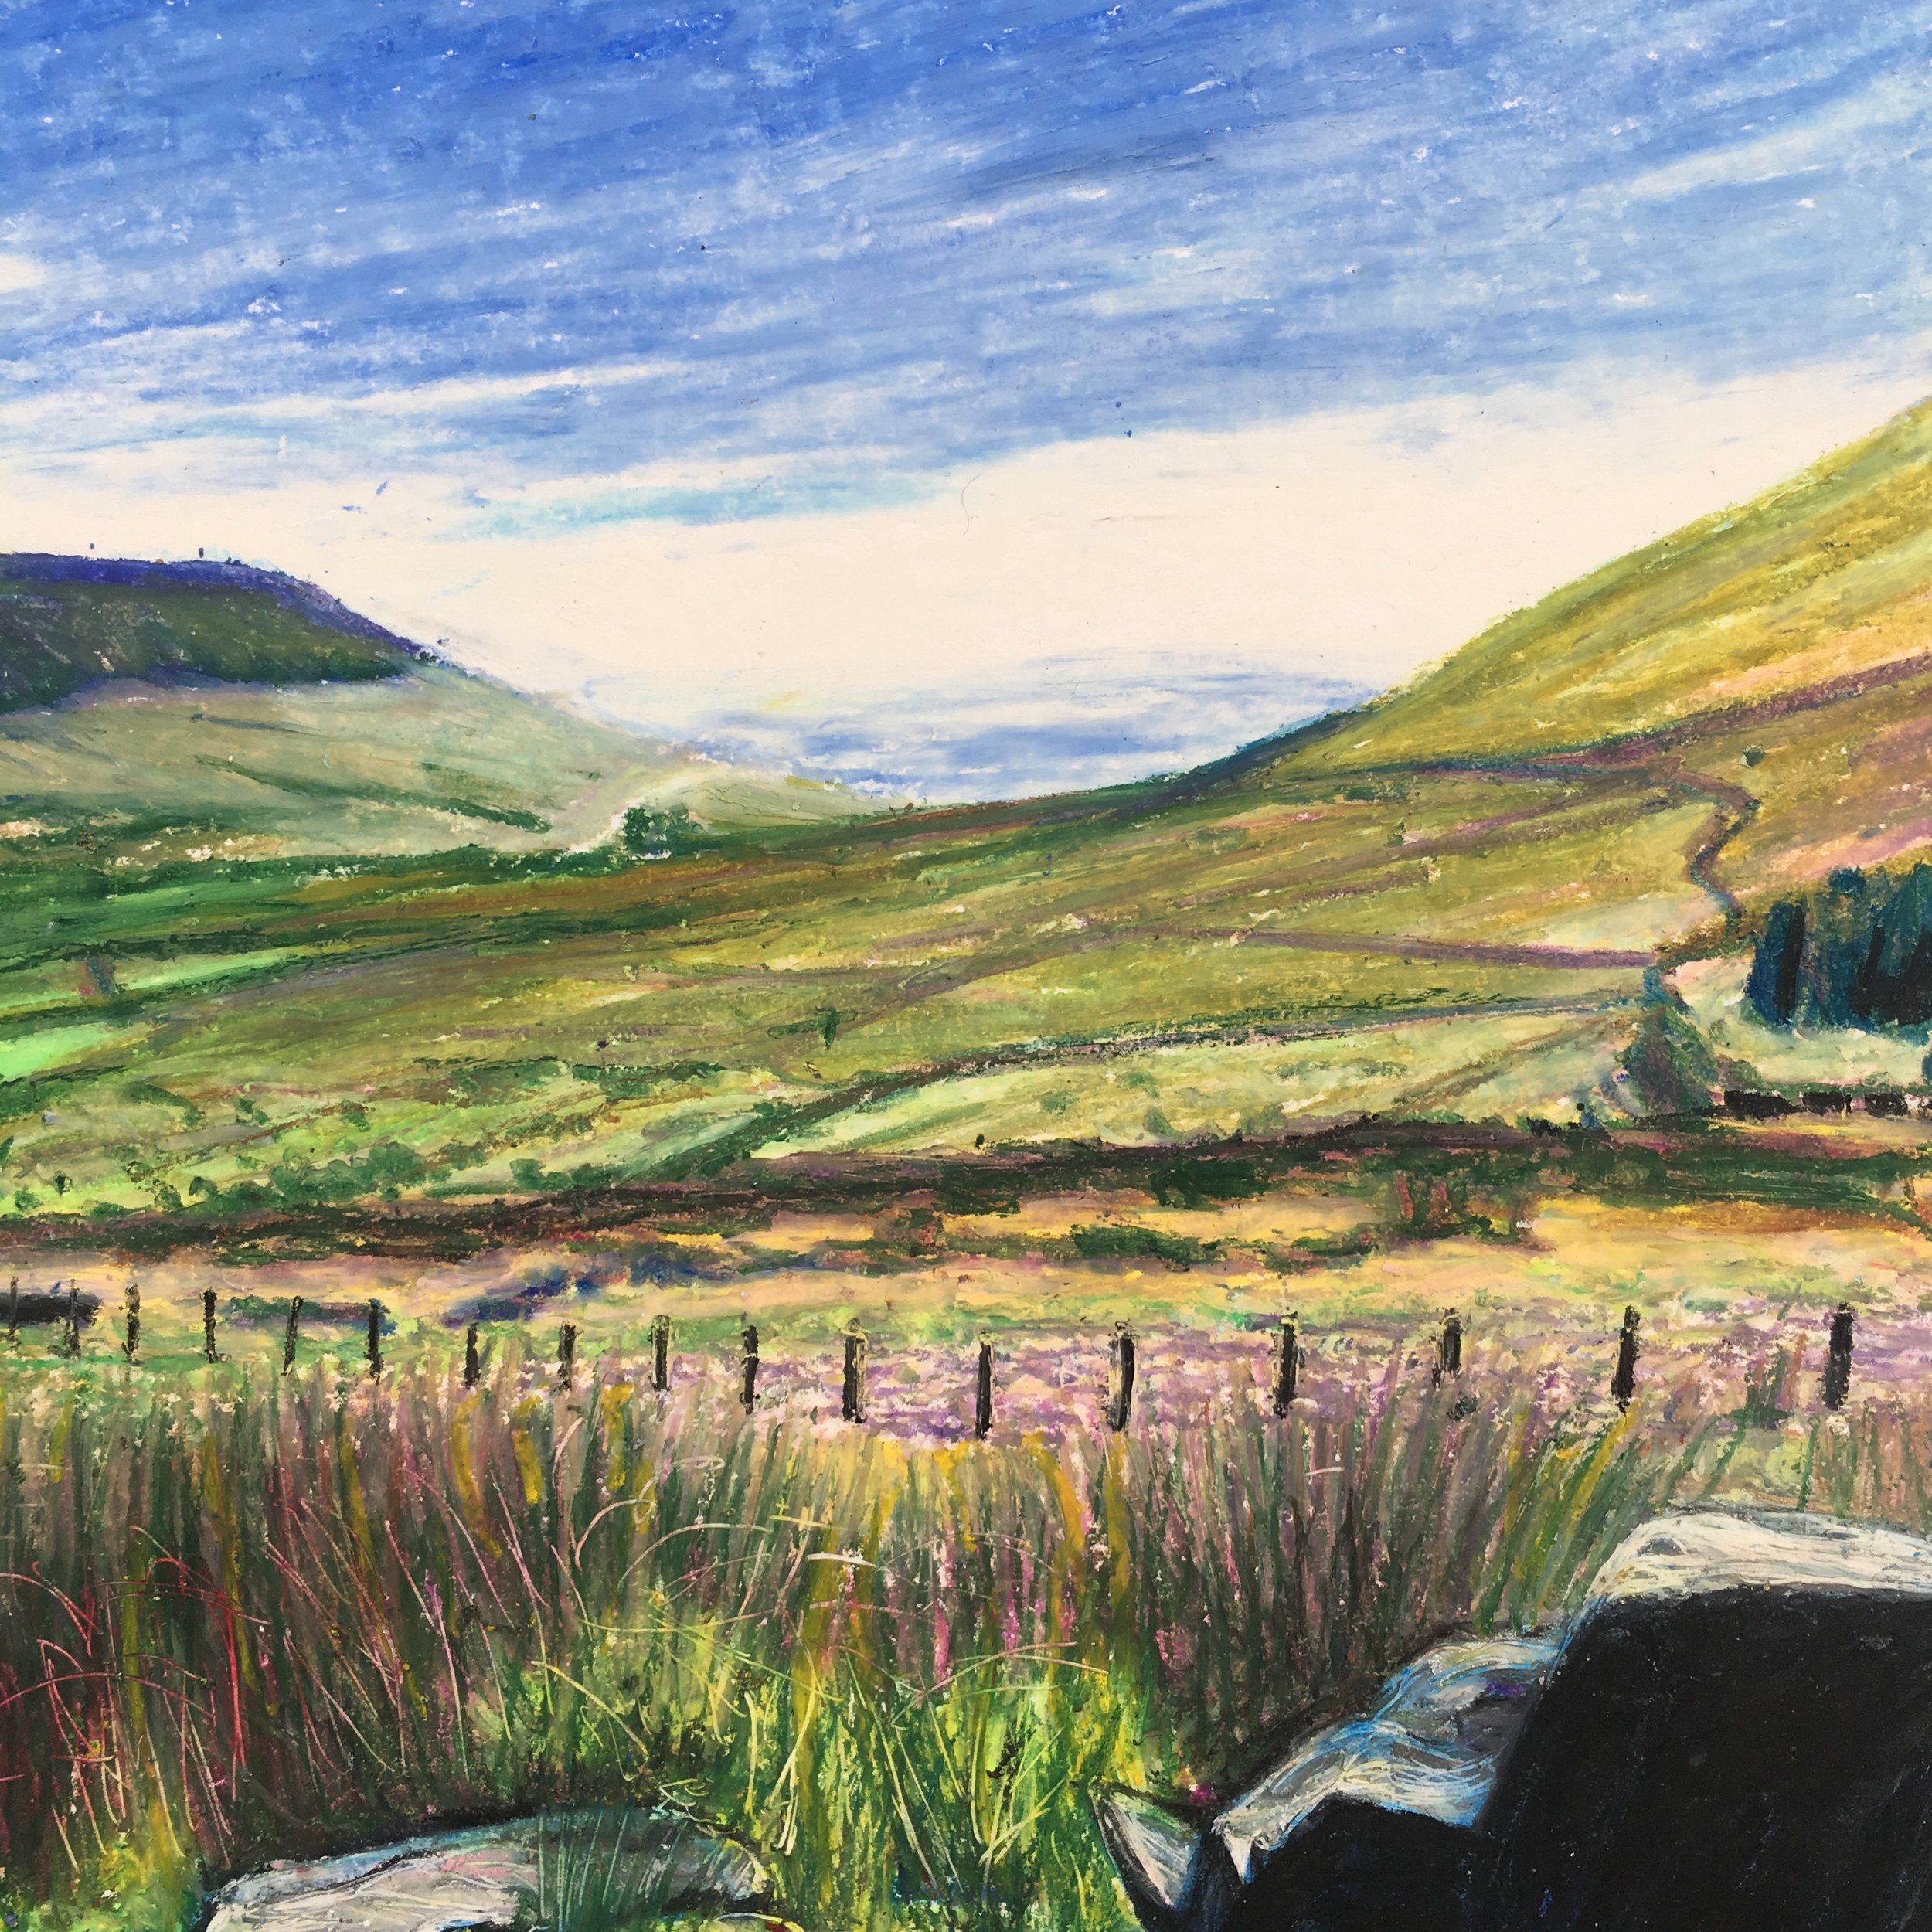
I start the work by choosing my composition- that is- the shape I want my work to be and where corresponding shapes will be on the page. In this case: the peaks on the horizon, the path and the solid, jagged rocks in the foreground. I drew this out in a loose sketch.
I tend to work from top to bottom, left to right as I am right handed and because I don’t want to smudge my work. I do use a piece of glassine paper under my drawing hand but I work this way just in case!
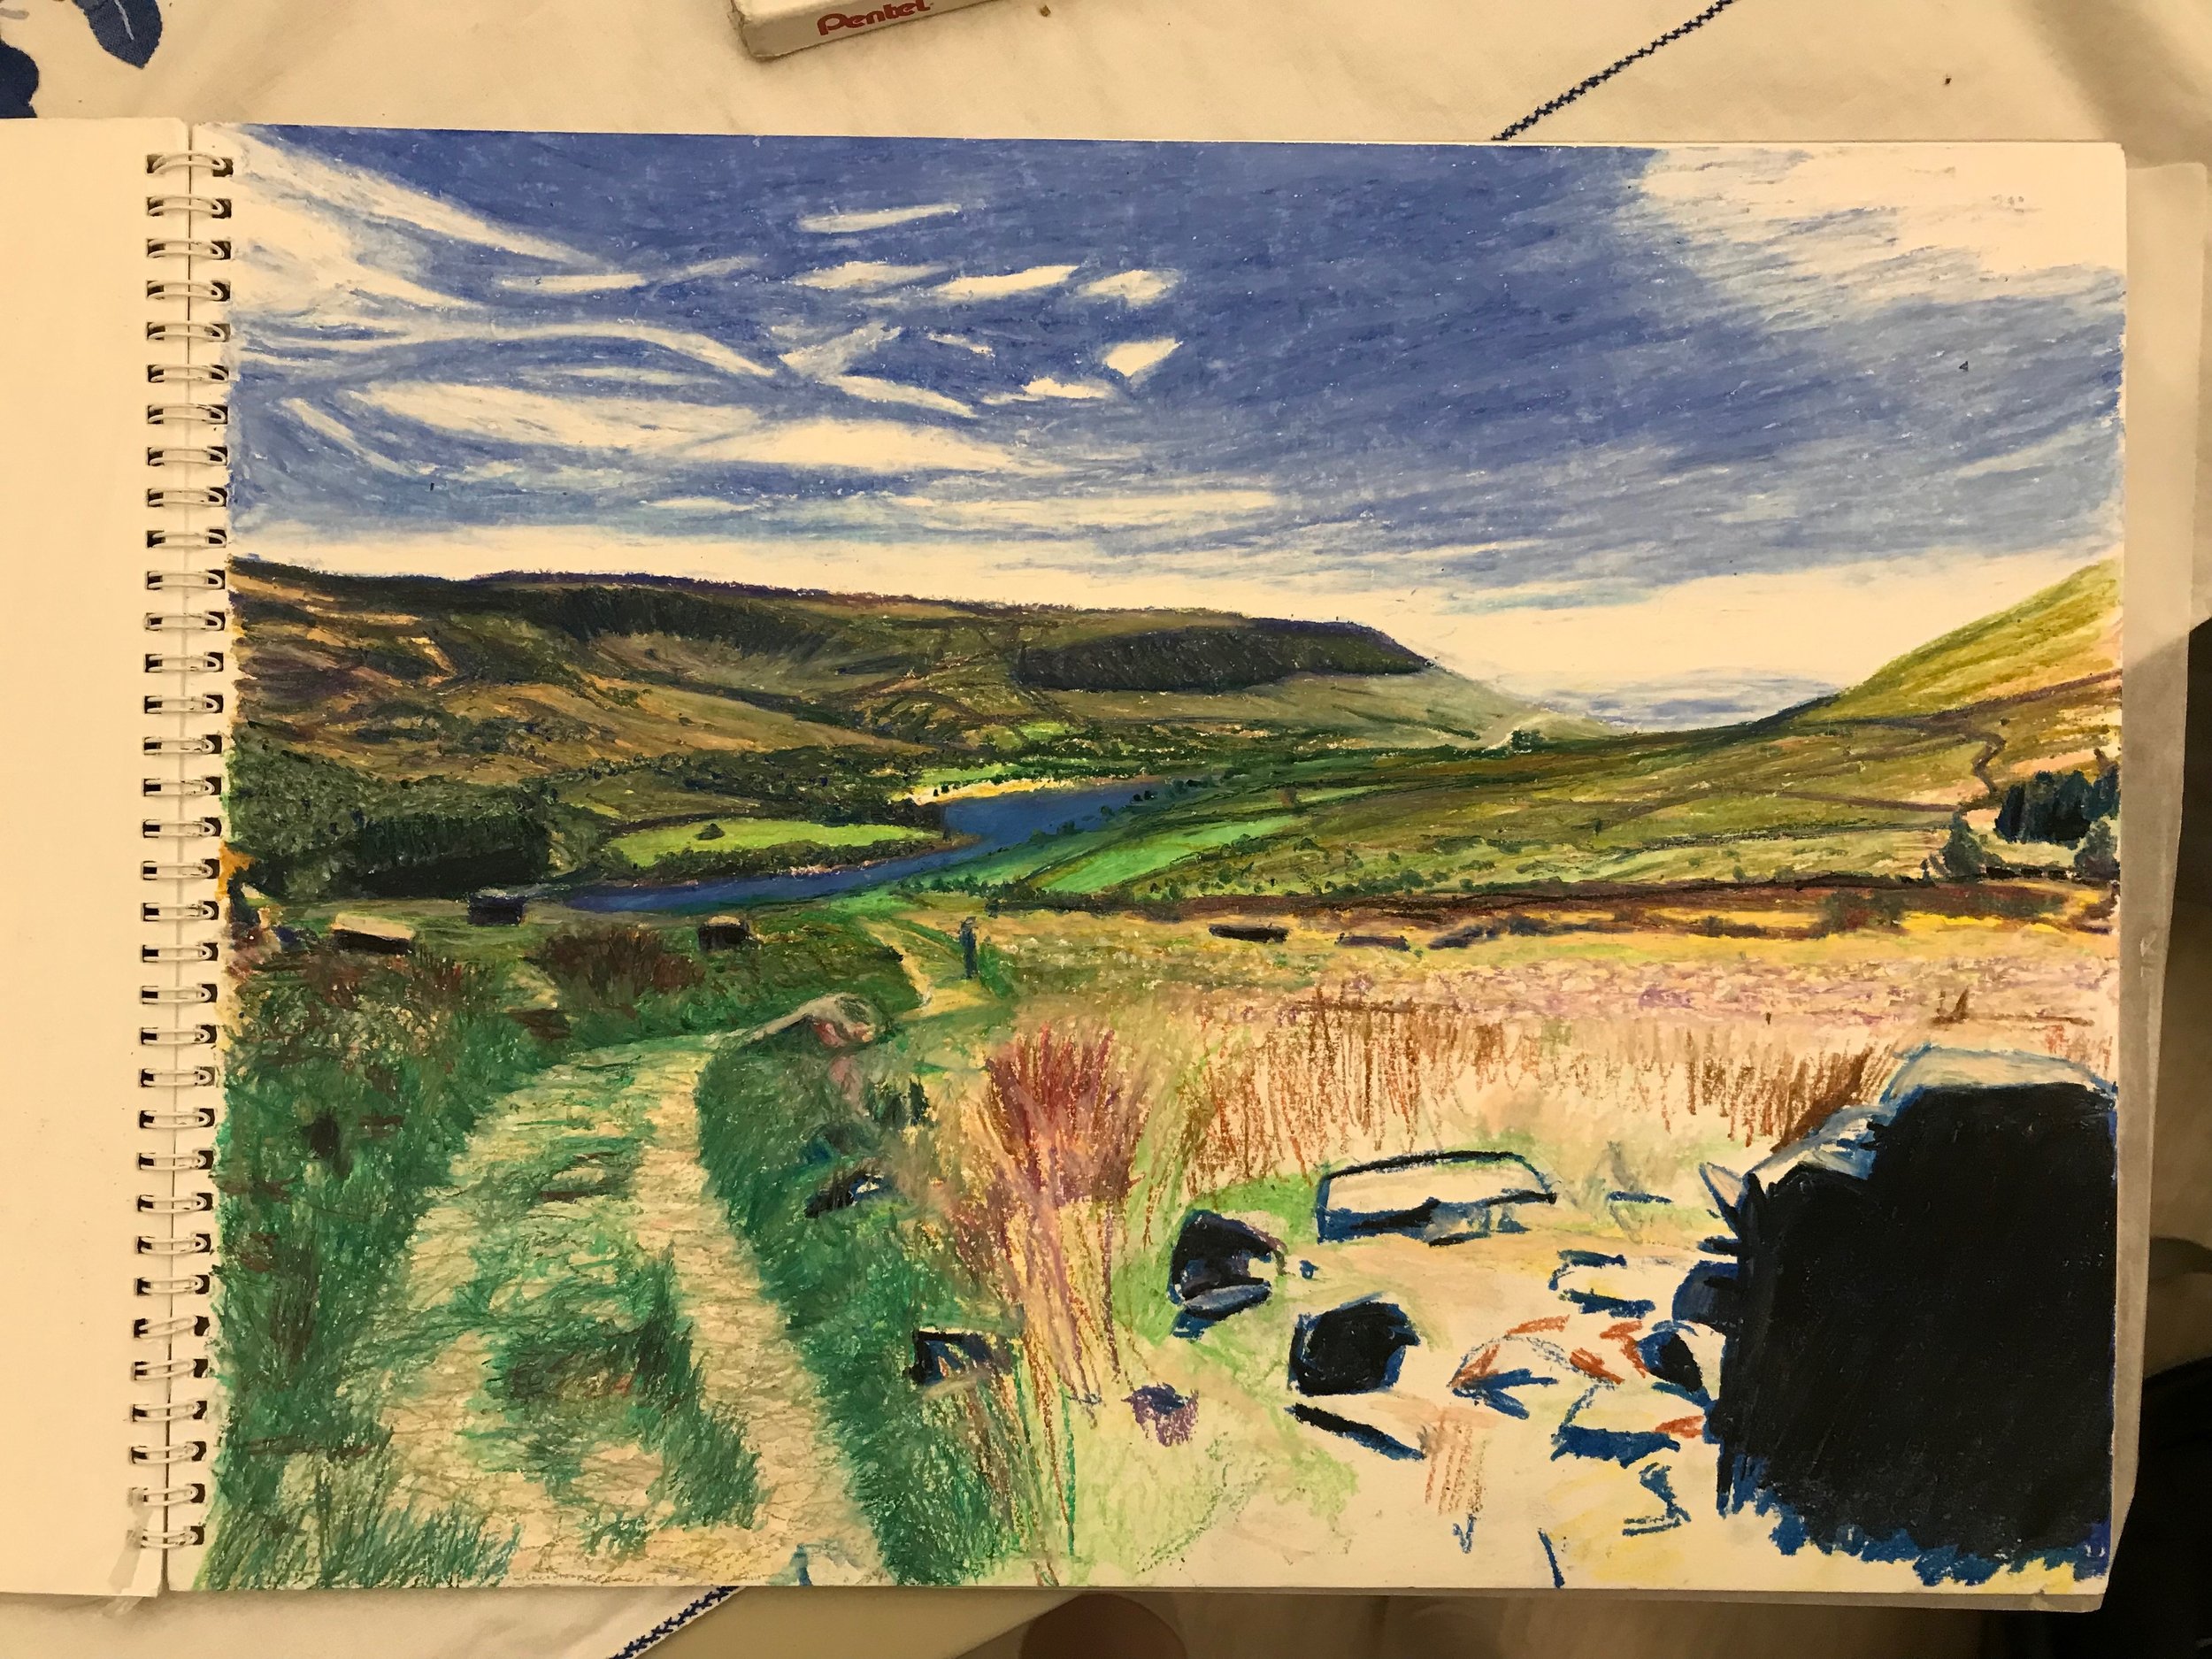
I’ll show you below how I layered up the foreground of the artwork:
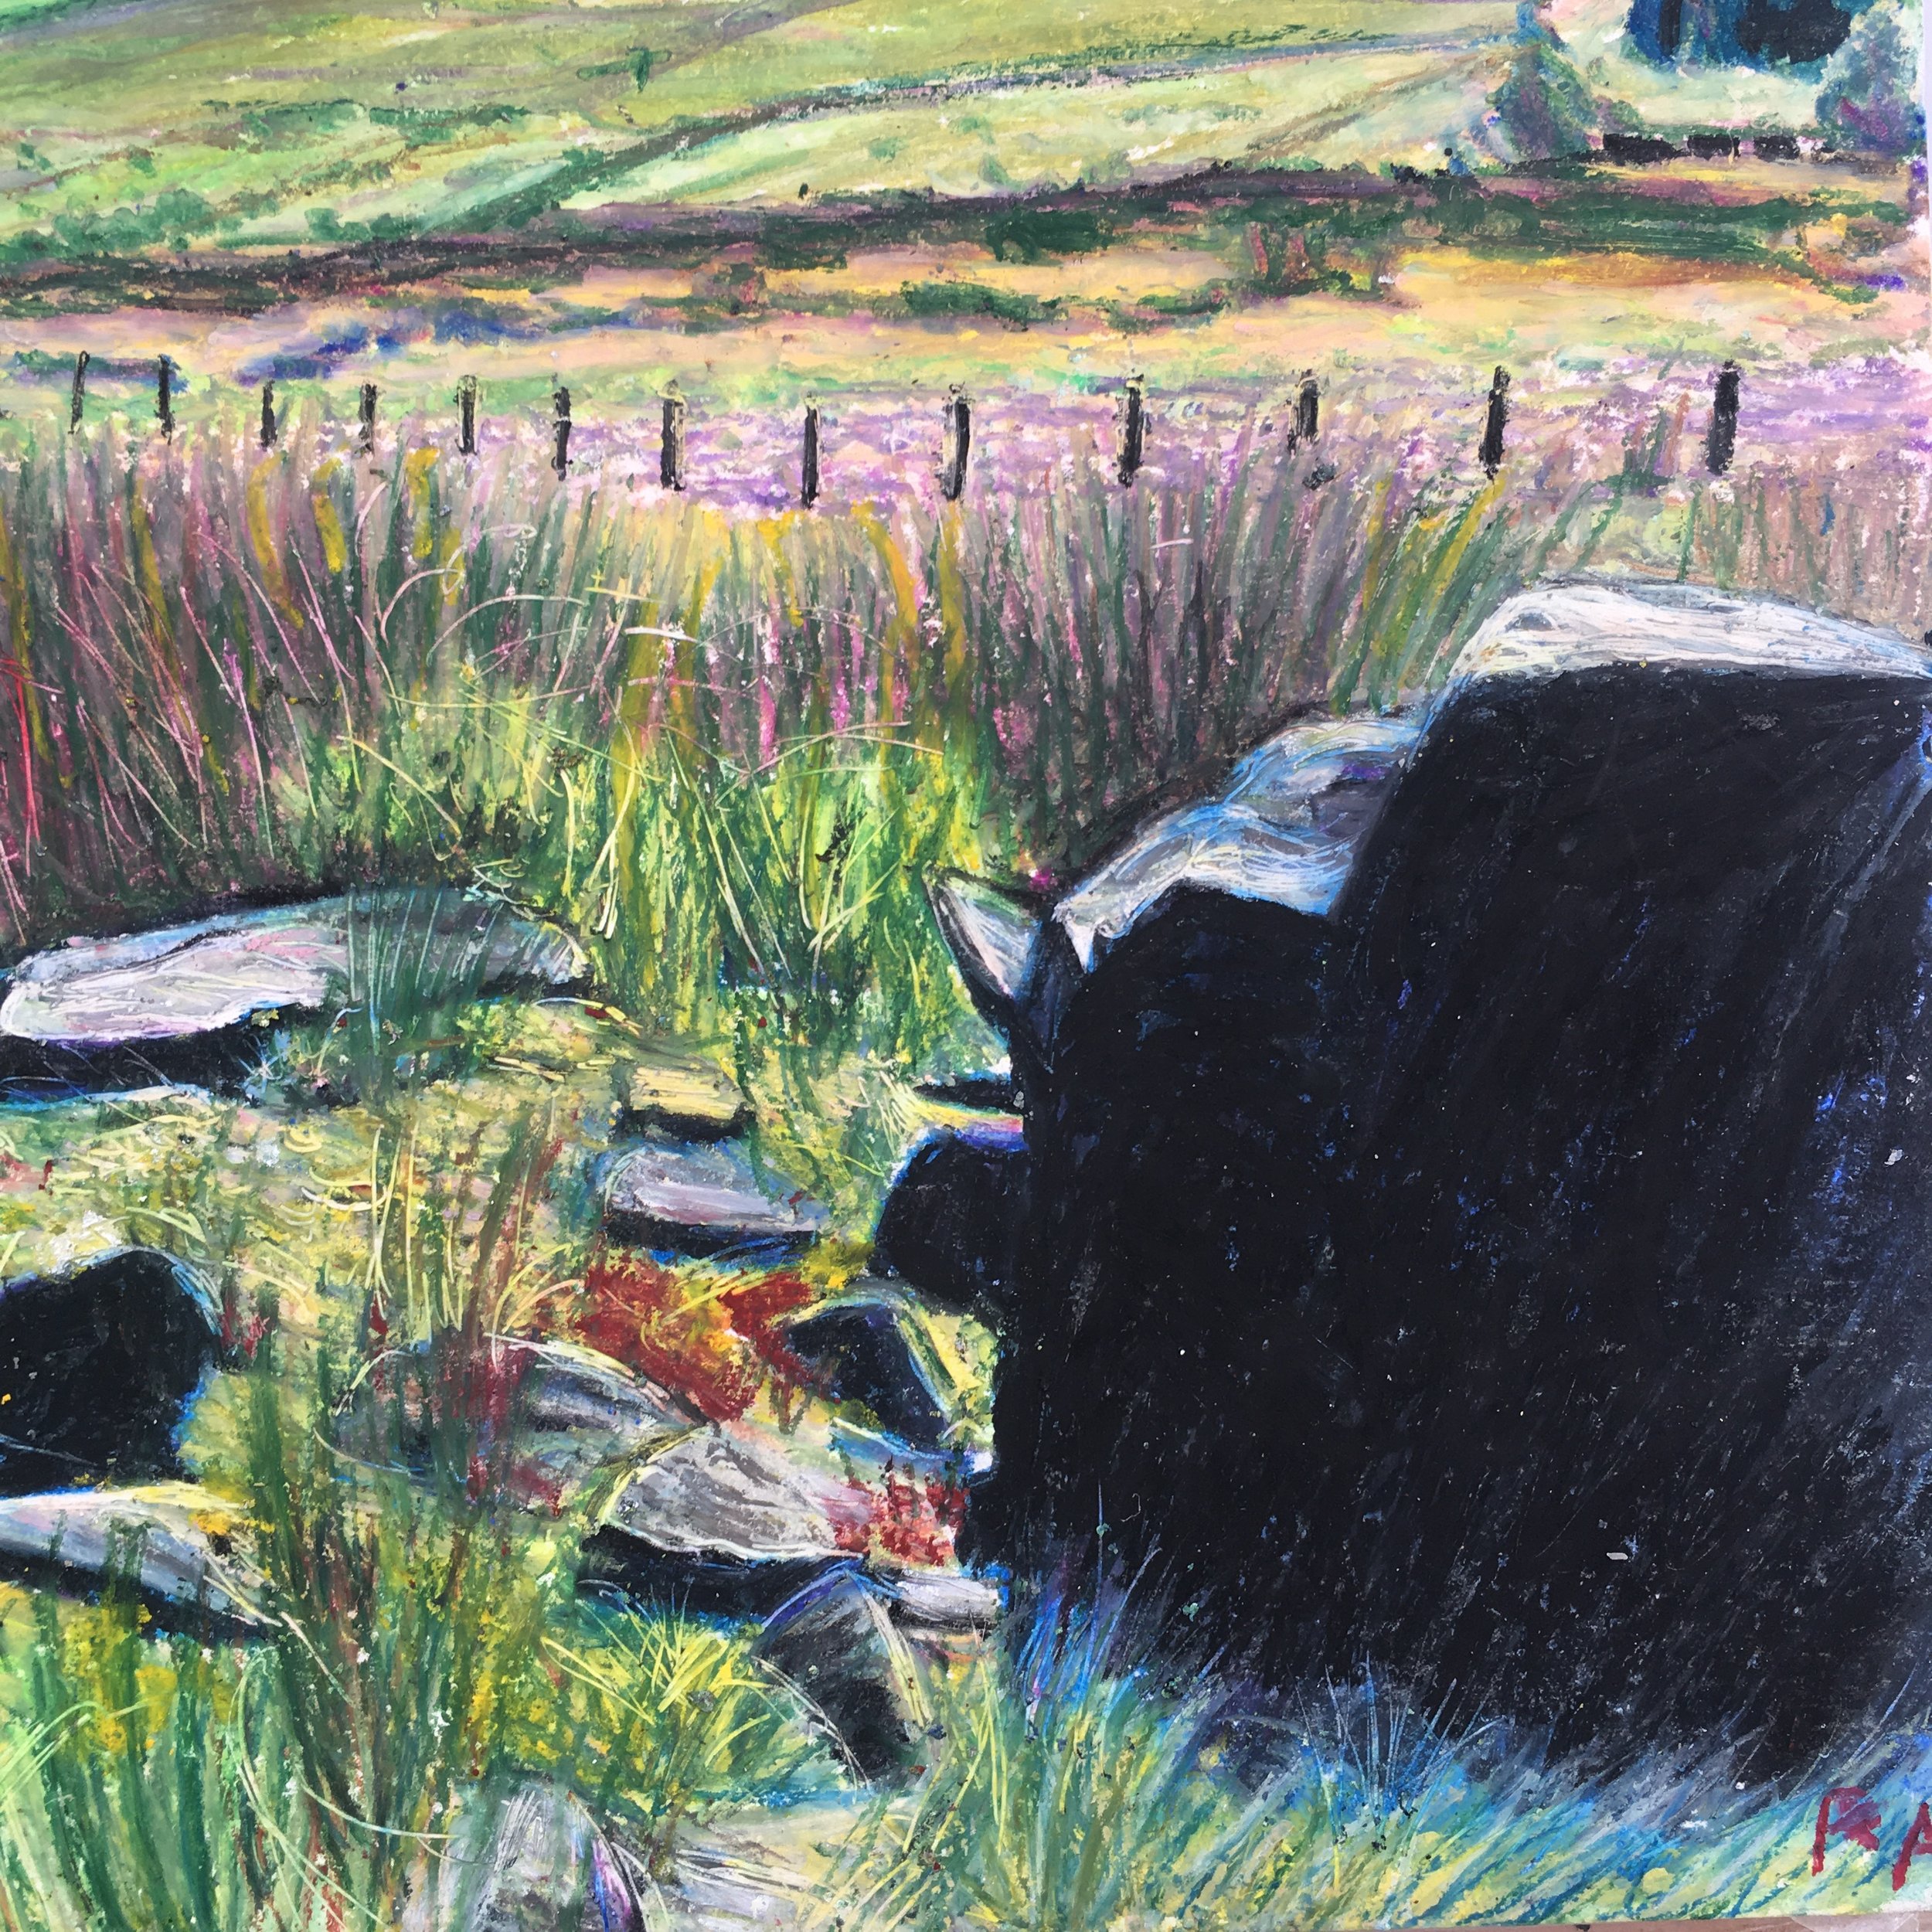
You can see from the development above that the marks start very basically. I tend to lay a base lighter colour that I can then scratch through to reveal after if required. Here I laid white and creamy, pastel tones that I wanted to be stones and wispy blades of grass later on in the process. (Click on each image to see it close-up.)
I then added the bolder darker shapes, which in this case were the rocks.
Then I layer up. I’ll add hues (colours) I can see in my reference image that are in the background, then add foreground tones. If you look carefully at nature you can see so many more colours than first meet the eye! I also find that often oil pastel browns look dull on the page, so I create my own “brown” using red blended over green oil pastel, or even red over blue and yellow. Some colours look more alive next to others, this is usually because they are opposite on the colour wheel.
Sennelier Card is thick and heavy-duty card especially made for oil pastels, so it can handle some force and many layers applied to it. When I near the end I squish and stab the oil pastels on the picture to obtain the details I need. This sometimes requires a bit of forceful pressure!
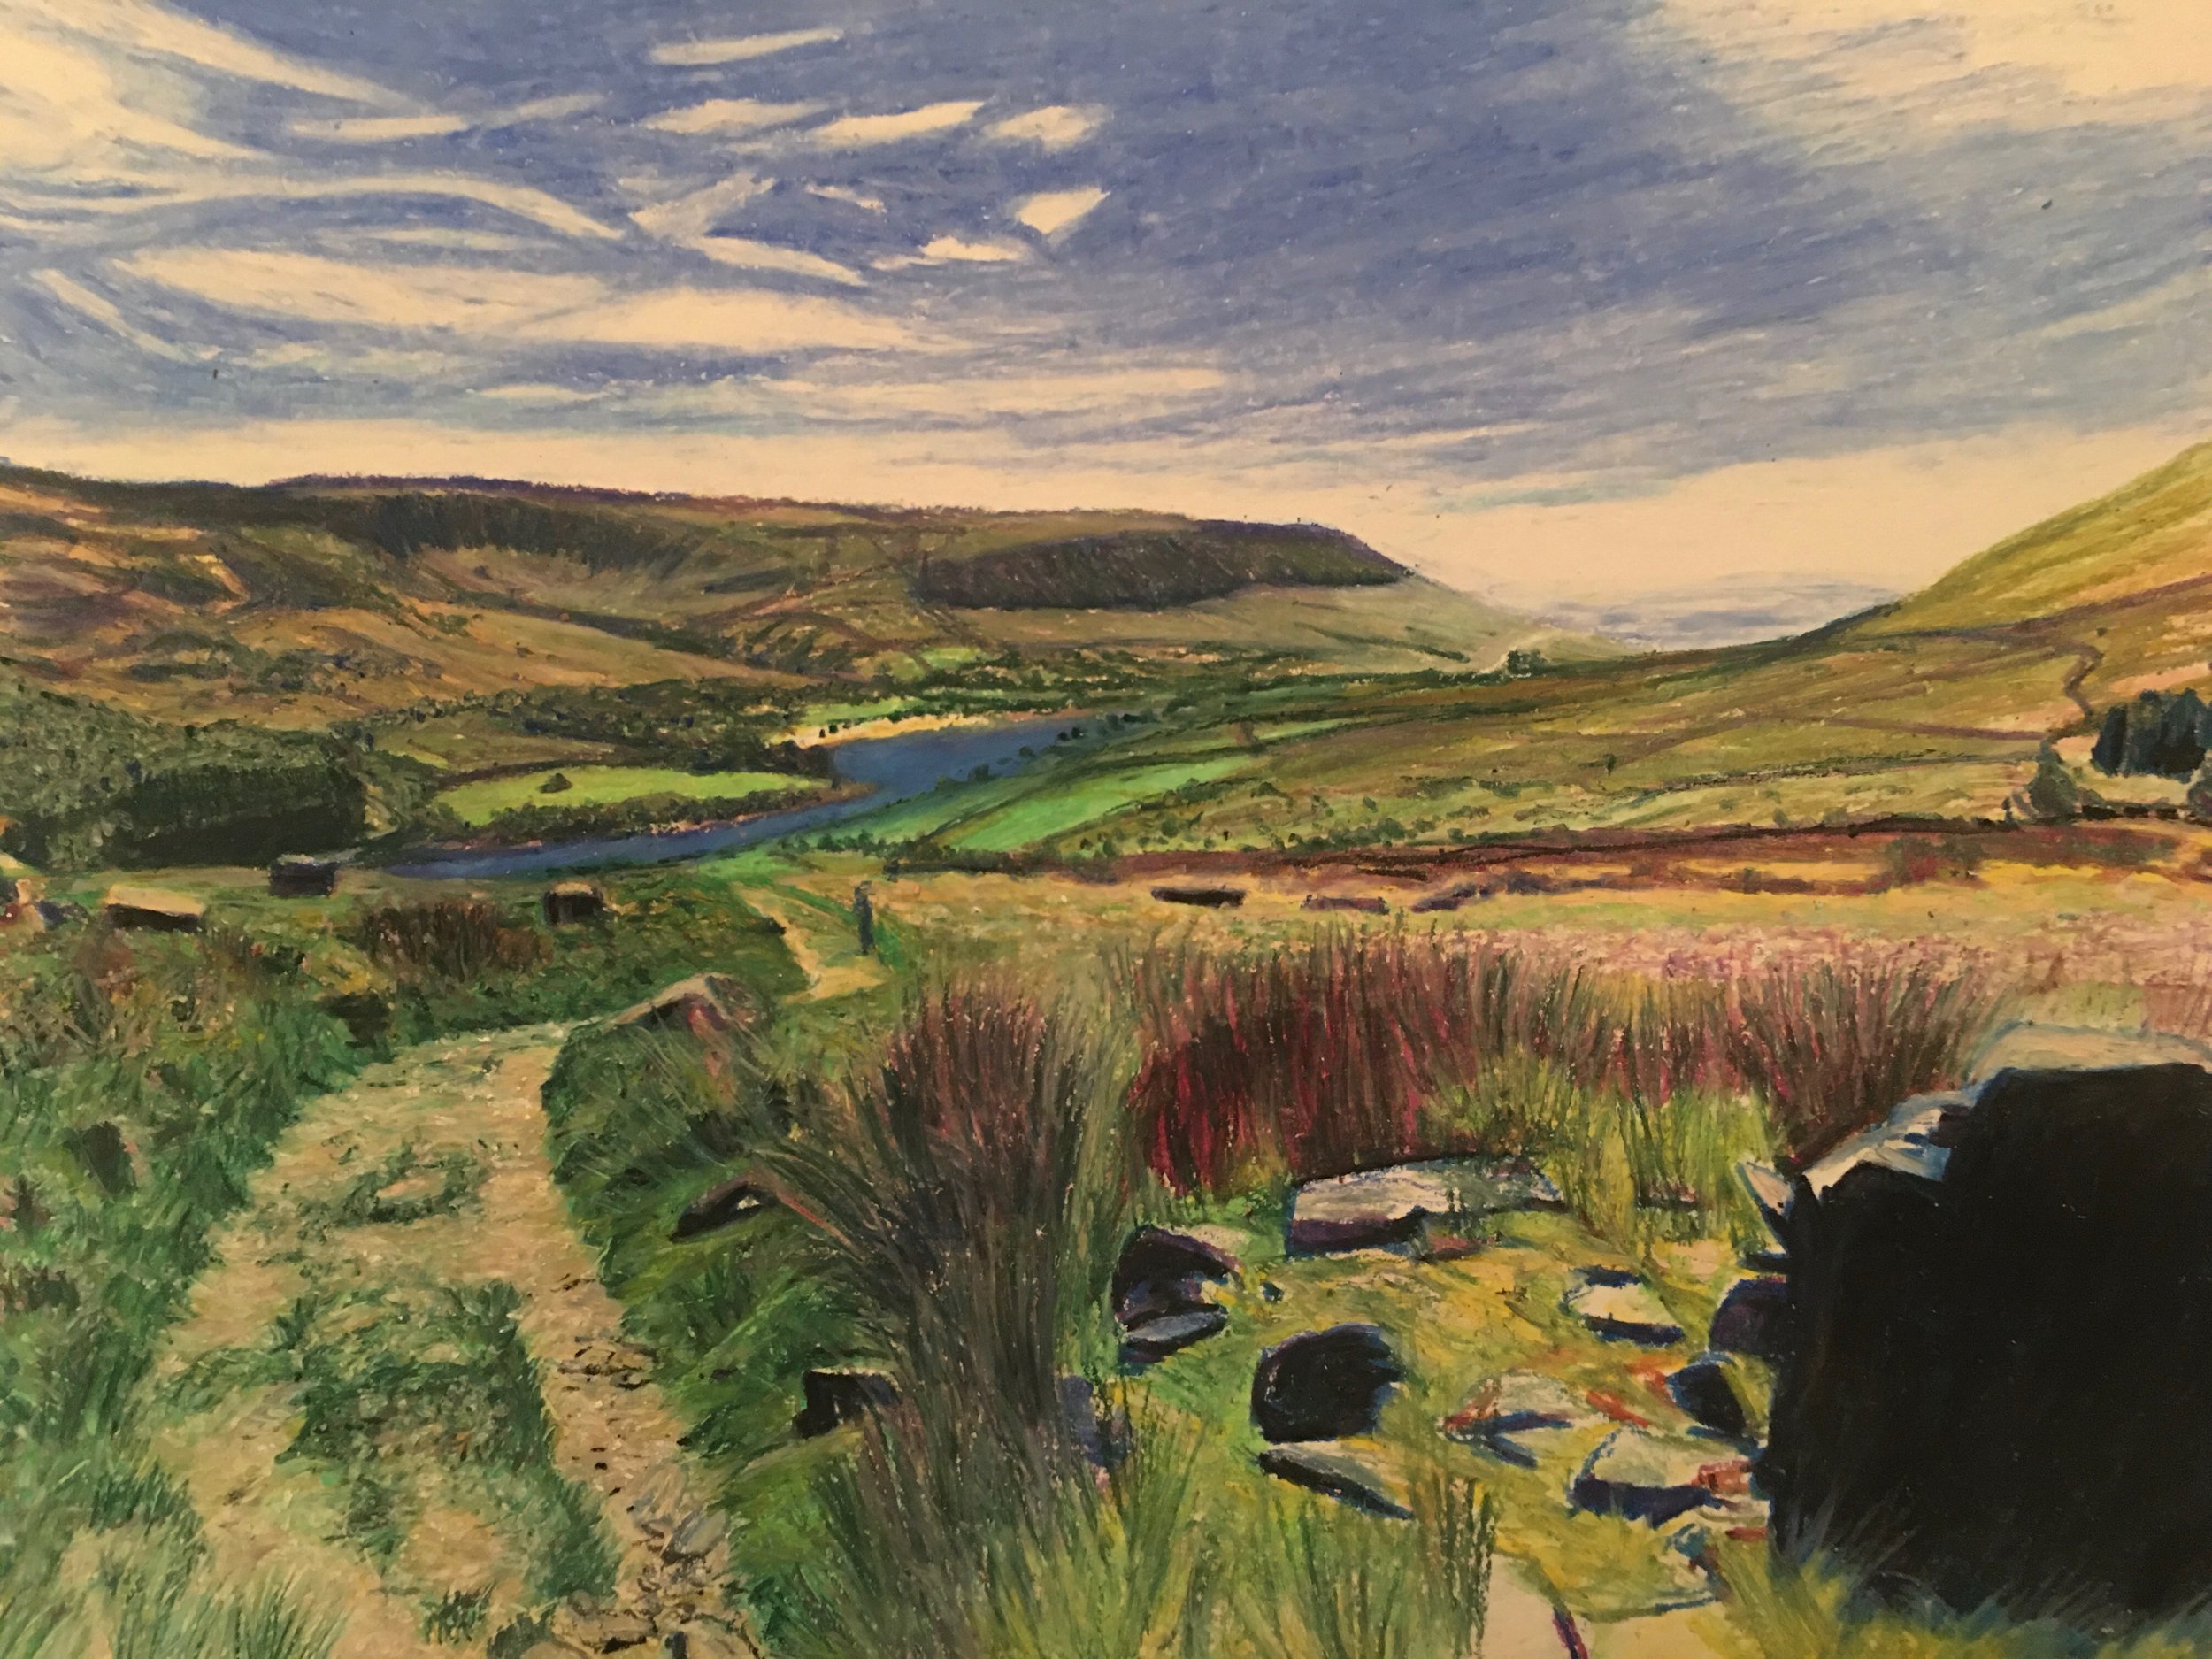
Once I have added all the layers and texture that I am happy with, I then use a wooden toothpick to scratch away to reveal the lighter tones and create smaller details as described before:
Here’s the finished artwork and now some close up shots below.
It’s worth adding: oil pastels don’t require drying time but as they don’t “dry” they remain smudge-able.
It is therefore necessary to keep them covered with glassine paper when not on display. I keep mine covered this way and in an archive folder in my archive box (see blog post on this). I also cover oil pastel artworks with glassine paper when posting to buyers or galleries for exhibition and communicate with buyers that they should choose a glass frame that allows space between the picture and the glass when getting framed. This will avoid smudging and keep the artwork safe.
I hope you enjoyed this. Let me know if there’s anything that would be helpful to add.
Happy creating!
Rebecca x


